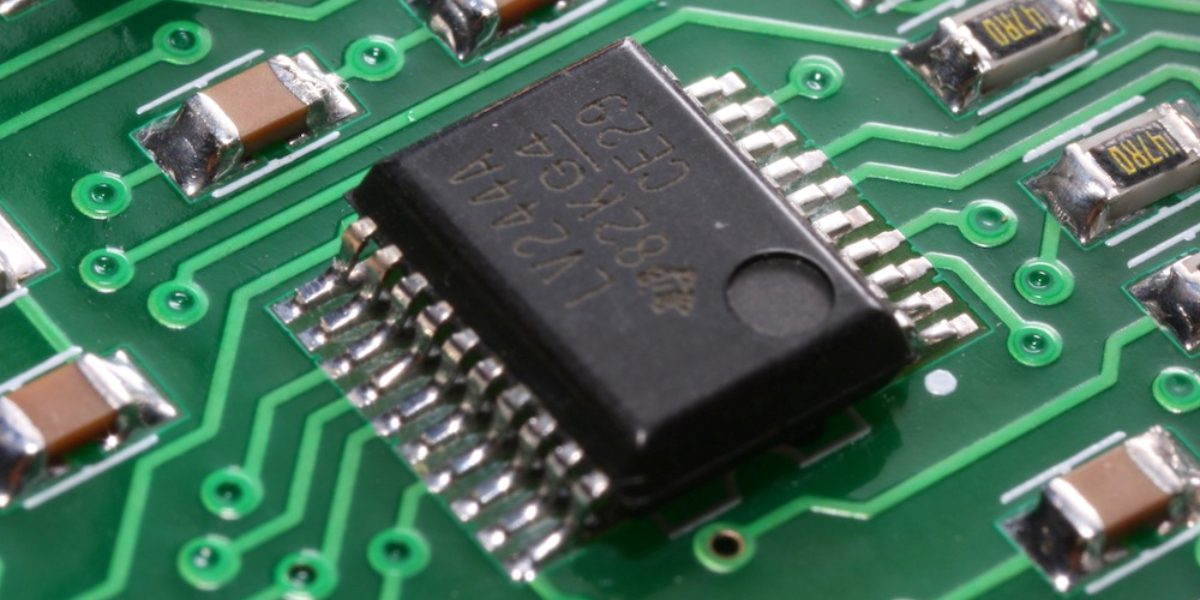
PCB Assembly Repair: Replacing an SMT SOIC
Electronic Manufacturing
Replacing an SMT SOIC (Small Outline Integrated Circuit) component can be a delicate task that requires some skill in soldering and handling electronic components. Here are the general steps you can follow:
Tools and Materials:
- Replacement SMT SOIC component
- Soldering iron with a fine tip
- Soldering wire with flux (preferably lead-free)
- Desoldering braid or solder sucker (for removing the old component)
- Tweezers
- Anti-static wrist strap (optional)
- Magnifying glass or a microscope (for precision)
- ESD-safe work surface (Electrostatic Discharge protection)
Procedure for replacing an SMT SOIC:
- Prepare your workspace:
- Ensure you’re working on an ESD-safe surface to prevent electrostatic component damage.
- Ground yourself with an anti-static wrist strap to prevent static discharge.
- Ensure proper lighting and visibility.
- Identify the faulty SOIC component:
- Locate the SOIC component on the PCB that you need to replace. Ensure you’re working with the correct component.
- Locate the SOIC component on the PCB that you need to replace. Ensure you’re working with the correct component.
- Prepare for desoldering:
- Apply a small amount of flux to the pins of the SOIC component you want to remove. This will make the desoldering process more manageable.
- Apply a small amount of flux to the pins of the SOIC component you want to remove. This will make the desoldering process more manageable.
- Remove the old SOIC component:
- Use a desoldering braid or solder sucker to remove the solder from each of the SOIC component’s pins. Heat each pin with the soldering iron and remove the solder until it’s free.
- Be patient and avoid overheating the PCB or the component. You may need to go back and forth between pins until the component can be gently lifted.
- Lift the old component:
- Once the solder is removed, gently lift the old SOIC component using tweezers. Be careful not to damage the PCB or the component.
- Once the solder is removed, gently lift the old SOIC component using tweezers. Be careful not to damage the PCB or the component.
- Clean the PCB:
- Use isopropyl alcohol, a brush, or a lint-free cloth to clean the PCB pads and remove any flux residue.
- Use isopropyl alcohol, a brush, or a lint-free cloth to clean the PCB pads and remove any flux residue.
- Prepare the new SOIC component:
- Ensure the new SOIC component is the correct part and matches the orientation of the old one.
- Ensure the new SOIC component is the correct part and matches the orientation of the old one.
- Solder the new component:
- Apply a small amount of solder to one pad on the PCB. This will help hold the component in place during soldering.
- Position the new SOIC component on the pads and align it correctly.
- Solder one pin of the SOIC component while holding it in place.
- Double-check the alignment before soldering the remaining pins.
- Solder all the remaining pins individually, ensuring you have good solder joints (smooth, shiny, and not bridged).
- Inspect your work:
- Use a magnifying glass or microscope to inspect the solder joints for any defects or solder bridges.
- Ensure the component is seated correctly and aligned when replacing an SMT SOIC.
- Clean and test:
- Clean the PCB again to remove any flux residue.
- Test the circuit to ensure the new SOIC component functions as expected.
- Secure the PCB:
- If the PCB assembly is part of a more extensive system, secure the PCB back into its housing and reassemble the device.
- If the PCB assembly is part of a more extensive system, secure the PCB back into its housing and reassemble the device.
- Dispose of old components safely:
- Dispose of the old SOIC component according to your local electronic waste regulations.
Please note that surface-mount soldering requires a steady hand, experience, and training. If you’re not confident in replacing an SMT SOIC with your soldering skills, consider seeking assistance from a professional or practicing on less critical components first.
Tags In
Jay Mendpara
Gary (ANZER Sales & Marketing Director) is an Electrical Engineer with over 30 years of experience in high-technology electronics design and application engineering. He has extensive experience managing technology-based businesses and founded two electronics companies. He works with Original Equipment Manufacturers (OEMs) needing outsourced electronic manufacturing and holds patents in electronic safety devices.


